28 March 2012

Idle Hands...


Idle hands, my mother has often assured me, are the devil's playground. I have to assume that she knows from observing someone else, because I've never known hers to be idle, so it cannot be from personal experience.

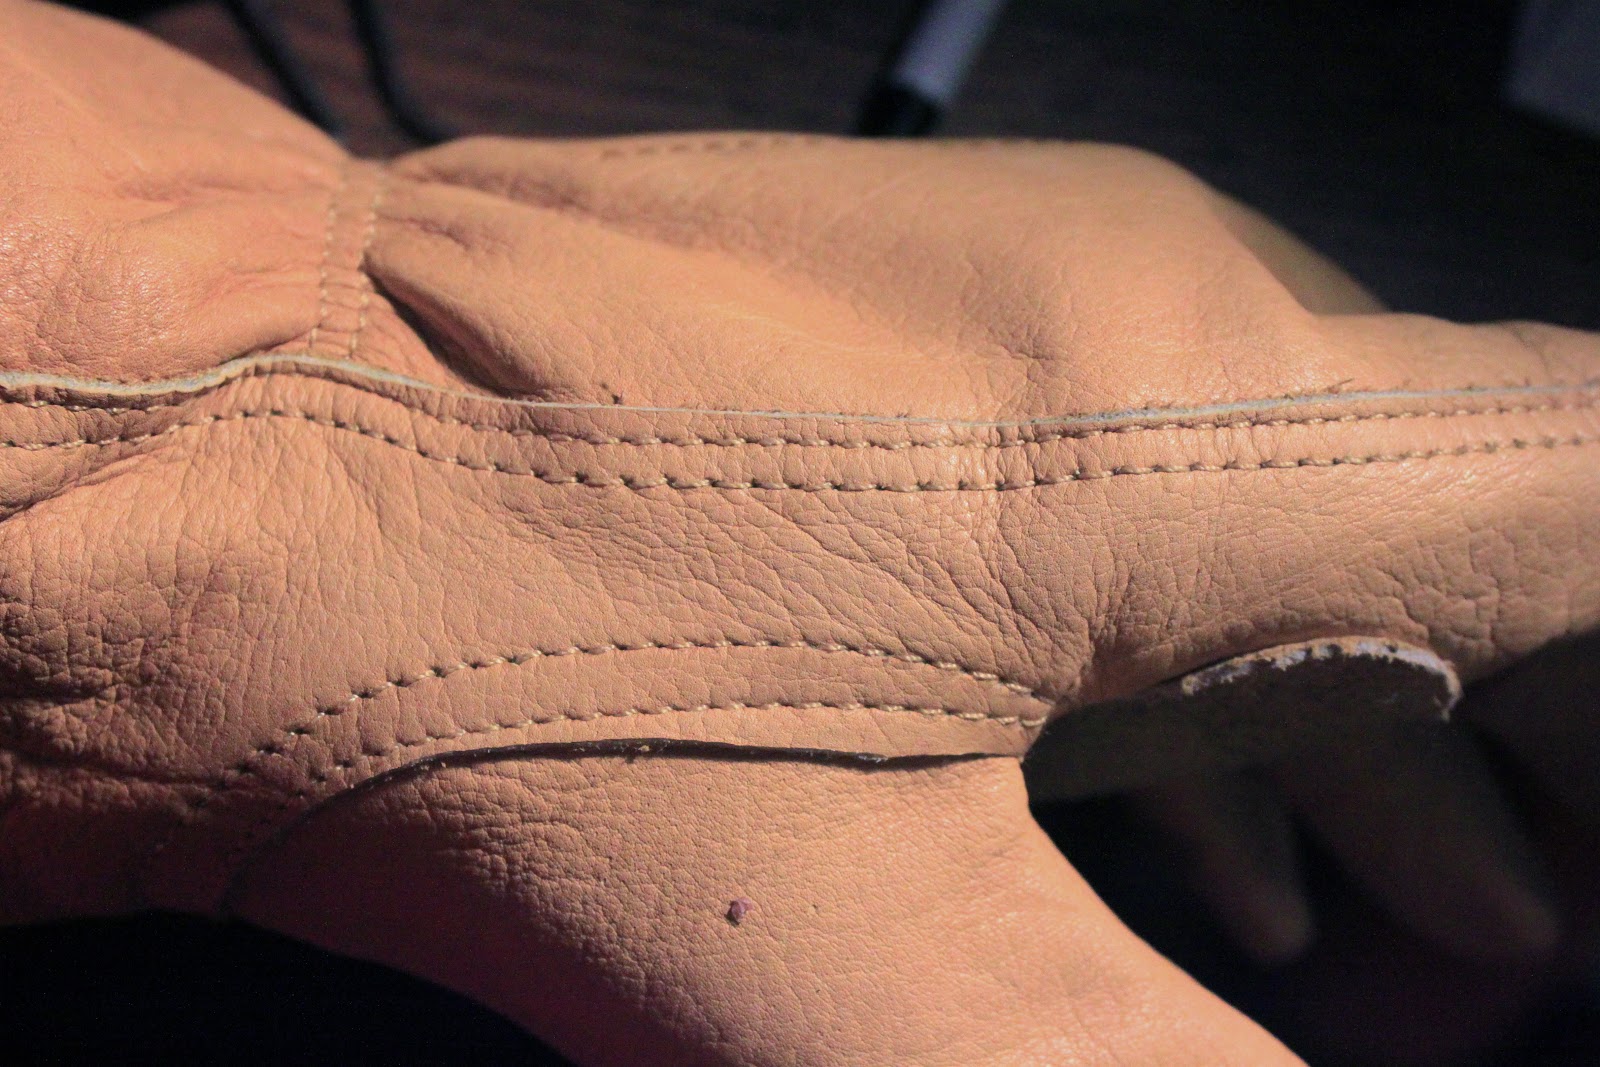
These are my mother's hands, photographed the day after her surgery for breast cancer.

It was one of the few idle moments she had and the only day she really spent resting... at least by my definition of the word. Before I knew it, she was inviting relatives over and cooking a turkey dinner.

These are not idle hands -- these are fighting hands.

It was a strange learning experience for all of us, I think. There are not many moments in your life that you can point to and say "This is a point where this changed" but this was one of those moments. Mom is an ace at not being idle and has a genuine knack for keeping her son's hands from being idle either...
Pro Tip: Before you volunteer to help someone out after surgery, first find out whether they have a deck that needs to be stained and plan (or at least pack) accordingly.
That week, I discovered that I could help clean and dress wounds without fainting (my condolences to everyone who lost money in the betting pool). Yes, I stained a deck, and I also discovered that radiation suites often don't get decent WiFi. I also awarded an honorary Nobel prize for awesomeness to the innovator that brought us the hotel lobby espresso stand. I also handmade a couple of doublets, which I'll give their own posts.

I am happy to say that my mom did well. I was able to return home just in time for my 12th wedding anniversary. The universe gave us the gift of a broken hot water heater. 

We decided that the water heater was officially a piece of modernist sculpture (since art has no function, I couldn't feel bad that it wouldn't heat my water). We mopped the floor, turned off the power and water to the stupid thing and went out to spend the day on the town. We bought each other a bag of books and I gave Kris a lovely cross to wear with this year's renaissance gown. 

12 years ago I said "I do" to a lovely lady who kindly agreed that she would too. You think a bit of malfunctioning junk like a hot water heater can touch that?

Life happens. Sometimes it seems to happen all at once and sometimes it stops happening before we're ready. Hug the people you love. Tell your friends how you feel about them. Because you never know when you will quite suddenly lose the chance to do so. 

Also, please talk to the women in your life, tell them you care. Ask them when their last exam was. Make the appointment. Go with them if you have to. Give the gift of life and health: encourage yearly mammograms and for all women to have a baseline scan at 35.

Women's health is not a women's issue -- it is a human issue. We seem to be a society that is locked in a perpetual state of forgetting that one person's fight is everyone's fight. We may be two genders, but we are one species. That's what it really means to be a nation. We're supposed to have everyone's back because we know everyone has ours. 

E pluribus unum -- from the many, one. I've got your back because I know you've got mine. We're in this together.

How different our world would be if we could just cling to that one simple truth.

-Scott

10 March 2012

A Leather Jerkin

Dear Readers: I will be traveling for a family emergency for the next couple of weeks. This is the project I planned to start this weekend; instead we'll be getting into it when I get home.  Take care, and I'll see you when I get back!  ~Scott

Youth's leather Jerkin, Museum of London. Detailed in 
Patterns of Fashion, 1560-1620 by Janet Arnold.
Next on my list of Things to Make is a leather jerkin. Doeskin, to be precise. It is quite probably the garment I've procrastinated most of anything I've ever contemplated doing ever.  Don't believe me? I bought the leather ten years ago.

This silly thing sorta scares the crap out of me for no reason at all. It's not that I've never sewn leather before. And it's not that I don't know how to make it. Honestly, I think it's the degree to which I coveted the leather jackets that all the cool kids were wearing back when I was a kid thanks to Top Gun and Indiana Jones, and the even greater degree to which my dad refused to let me buy one or buy one for me. They were too expensive. They were luxury items. Dad didn't hold with such things...

When I finally got one, they were no longer cool, but I treated it as if it had been made of bone china rather than one of the tougher materials known to man and had been beat to crap (aka "distressed") at the factory.

And it doesn't matter that I've owned dozens of leather coats since or that I've sewn sheaths and bags and purses and gloves and hats and masks and miscellaneous whatnot out of leather. Making a jacket just seems like a bridge further than I've ever been...

Then I did this to a perfectly good leather coat I picked up at a thrift store and the bloom came off the rose.  This new character is the perfect excuse to finally unroll those doe skins and make that stupid jerkin.

So let's talk about how.

The leather I'll be using is doe skin. That is to say the leather made from the hide of a female deer. This kind of leather acts a lot like cloth: you can run it through a sewing machine, sew it fairly easily by hand, and it stretches and drapes rather like a heavy wool.

Thread
I will be making mine almost entirely by hand, using a waxed linen thread. The natural linen thread shown in the picture is bookbinding thread. Pre-waxed thread can be found at leatherworking stores or online, or there's a brand of unwaxed linen thread called Londenderry that can be found in specialty embroidery stores in a variety of colors.


Needle
Working in leather like this will require a "glover's" needle, which has a beveled tip for punching through the leather. Thankfully, even the big box sewing stores seem to carry them.

Let's get into this right away...


Stitches & Seams
There are two essential kinds of seam that I will be using on this project.  Almost all of the stitches will either be saddle-stitch or running stitch. The seams will be the 'lapped' seam or a reinforced version of the standard pressed seam for reasons I'll get into in a minute.


If you just lay two pieces of leather atop one another, right sides together, and then press the seams back as you would when working on a cloth garment, you're going to have problems. Where the needle has punctured the leather, you have created perforations (think the perforated 'Tear Hear' line on a document). And if you hold the seam up to the light, you'll see a 'ladder' of stitches which are exposed and weak.

The image above is a pair of doeskin workgloves I had handy. You can see the stitches of the seam at every fold and they never fail to fail at these points. This is a very unstable way to sew up a piece of leather.

When working leather, you need to work with larger stitches and use the right seam for the right task.


The "Arnold" Seam
As I said, you can't really just sew leather and iron the seams flat (actually, you usually pound them flat with a mallet) like you do cloth, and a French Seam is unworkable because of leather's bulk and stiffness. Even if you pare away the leather of the seam, you would end up with a standing seam that refused to lie down.  You could sew it down (a felled seam) or any one of a dozen other solutions, but I'm going to go with a period solution that I rather like.


The leather jerkin at the top of this post is in the Museum of London. If you click on the image, it should take you to some very large and detailed pictures at the museum's website. On that doublet, Janet Arnold noted that some of the seams had been sewn with a piece of lighter leather between them.

In the Museum of London jerkin, a much lighter piece of leather is doubled-over and inserted into the seam. Other seams documented by Janet Arnold use a similar approach and there are many that are reinforced on the inside with pieces of linen canvas. I will be doing that too.


Lapped Seam

One of the great things felt, felted wool, and leather have over woven cloth is that it doesn't fray. So you can do things like poke holes, make cuts, and do lap seams without worrying about it falling apart.

A lapped seam (shown left on the same pair of gloves as previous) is simply overlapping two pieces of leather and stitching the top one to the one underneath.  There are several different variations of the lapped seam and they appear in garments from the distant past to the jacket I have hanging next to the front door as I type this.

If you double-up the stitches as shown in the picture at the right, it makes an incredibly strong seam if you don't mind the stacked effect that results.  This is a great seam for long, flat sections like the seams of a jerkin or a doublet.

I will be using a combination of the lapped seam and the 'Arnold' seam to assemble this jerkin.


07 March 2012

Stitching Demo: Eyelet Engineering

Today, we're going to poke some holes in fabric and then we're going to reinforce the holes so that you can poke a bit of ribbon or cord through the hole repeatedly without tearing up the fabric.  There's a trick to this that makes it very similar to making button holes but also vastly different.

The difference is engineering.  

Yes, engineering. Go with me on this one.

The similarity is the stitch we're going to use. Depending upon whom you rely, this is either called the buttonhole stitch or the blanket stitch. The only difference between the two is whether the knot is at the top (away from the edge) or the bottom (on the edge). Call it by whatever name pleases you.

Since we're trying to make a hole and keep it open and fairly large, we're going to opt to not have the knot in the opening.

If you go to this website: The Wonderful Microworld you will find some beautiful pictures of various fabrics placed under a microscope. Most fabrics, at their basic structure, form a grid pattern, which is why I usually use plastic canvas for stitching demos.  The longitudinal threads are called 'warp' threads and the latitudinal threads are the 'weft'.

Because this demo will require me to move threads out the way, plastic canvas won't do it, so we're going to dig into the kitchen cupboard for some cheesecloth.  Cheesecloth is fantastic for this because it looks like a blown-up picture of a piece of fabric, so you will be able to see what's going on to a degree that a more densely-woven fabric would hide from you.


It also acts quite a bit differently than a more densely-woven fabri in many ways. It stretches and pulls and snags and otherwise fails to keep its shape without a bit of help.  You certainly wouldn't want to sew a doublet out of it. For the purposes of this demonstration, however, it will perform on a large scale just as a denser fabric will.

For making eyelets, the toolbox is pretty basic. You just need a long pointy thing like an awl. I got mine at the hardware store.  (Actually that's a lie; my wife bought it at the hardware store and I swiped it out of her sewing box. Don't tell her.) If you don't have an awl handy, just about anything will do: a knitting needle, a pencil, a chopstick, a sharpened dowel... you get the idea.


The reason we're going to study how to make them is because men's clothing in the 16th century required a lot of eyelets. And they have to be made strong and made correctly because they're going to be keeping your pants from falling down.


You're going to be making a lot of them, so get used to the idea.  Honestly, they're a lot simpler than button holes, but you'll be making a lot of those too.  If it makes you feel better, you can use the machine for the buttonholes if you feel the need.


I've never had much luck with machine-stitched eyelets. I advocate doing them by hand.


NOTE: We're going to be poking holes, not cutting them. Put away the hole punch and grab out the pointy things.

Why not use a holepunch? We cut buttonholes, after all. It would be a lot easier to make them whatever size I want if I can just cut a hole and sew around it. For an explanation, take a look at the professional, no expense spared, professional illustrations below.
A punched hole is surrounded on all sides by broken threads. 
Even metal reinforcement (grommets) will eventually pull out.
An eyelet can be pulled in any direction, unlike a buttonhole.
In a button hole, cutting the fabric will not compromise the integrity 
of the fabric.  When the fabric pulls left, the button (the red circle in the 
image above) holds fast and the stresses are borne by the uncut threads
perpendicular to the cut (highlighted in yellow).

See? I told you this was about engineering. Like anything you build, you want as many support structures intact as possible when you are done and as few as you can get away with.  In other words: thread good, grommets bad.

STEP ONE: Poke a hole
When poking your hole, work carefully, slowly, and breaking as few threads as possible.  The idea is to push the threads aside as best you can. Use steady pressure and twist as little as possible.


What you're striving for is what you see below: A hole with very few broken threads, where the threads have been pushed aside to make a very dense ring of compressed fabric around your hole. 

This reinforces the eyelet and makes it as strong as possible.


Remember that eyelets might be stressed in any direction, so you need them reinforced on all sides.


STEP TWO: Sewing
You're going to be making a buttonhole stitch just like we did the other day, only this time with the knot drawn away from the hole.
Begin by passing the needle through your hole and up through the fabric.  The point of the needle will always point away from the hole. 

Loop the thread over the needle and let it trail away, drawing the needle through the fabric so that the trailing thread makes a loop around your sewing thread.


Let the trailing thread form the loop.


Repeat this stitch all around the hole (these are exaggerated as always for the sake of clear photography) turning as you go, always drawing the thread out and away from the hole.


The finished product should look something like this.  


The knot is away from the hole, so it's not narrowing the aperture. The stitches are holding the warp and weft threads away without breaking them, so it's strong.

06 March 2012

Men's Petticoats (Probably not what you think)

In my last few posts I mentioned that I was working out a pattern for "a man's petticoat."

This arose from my constant consternation with the insistence by reenactors and faire costumers alike that a man of the 16th century would not go about in his shirtsleeves. I cannot count the number of people who have insisted that no one would be caught dead in a sleeveless jerkin or similar garment with only the linen of his shirt covering his arms.

Image from Breviary of Eleanor 

of Portugal  via hayinart.com
This belief persists despite the visual record of laborers about their tasks in what appears to be a jerkin and no doublet.  Even with the 'mini ice age' the temperatures were only a few degrees colder than now on average. The winters were quite severe throughout the period, but that doesn't mean that summer never came. The Elizabethans were not idiots, I would argue; if it was hot, they would take their coats off.

Sometimes they would take off a good deal more than that.

Note how in the Breviary of Eleanor of Portugal, as the seasons progress, the workers begin to dress appropriate to the weather. It's not much of a logical leap as there's no reason to think that they wouldn't.

Yet the belief persists that they were swaddled in cloth toes-to-nose from birth until death.

I've occasionally been able to bury my opponents in historical images of the bare-armed to the point where they'll admit that men stripped down in the throes of labor but immediately covered up to the eyeballs once more once the task was done. Weather or no weather.

Whether or not this is true is difficult to prove, but recent developments argue strongly that for certain professions and classes (notably laborers and sailors) the petitcoat was the dominant item of dress for all of their daily activities.

All of this came to light last month, a Kentwell reenactor and costumer Julia Barrett took up the flag when she approached a bunch of historical costumers via the Elizabethan Costuming Facebook group for feedback on a scholarly article about men's petticoats she was writing. Her article launched a very interesting avalanche of feedback and discussions about a little-discussed article of men clothing of the 16th century.

Turns out I had been misinterpreting those pictures I've been pointing to: Those men weren't going about in their jerkins, they were wearing petticoats.  These are enumerated in their wills as well as in the visual records I mentioned.

Now, before your 21st century mind wanders down its pre-programmed path toward images of manly knights in the frilly undergarments of women in later periods, we need to nail down exactly what we mean by "petticoat."

In this case, the petticoat means exactly what its French root would imply: Petite coat a small coat. In later centuries we would come to know these as "waistcoats" and to save modern listeners from confusion, some of us have vacillated back and forth between referring to them as petticoats and waist coats.

The purpose of the petticoat is twofold: as warmth and as a garment for a man to tie his hosen to. The could be made of any material and in fact some of the extent petticoats are knitted such as the DeMedici garment in the Stibbert Museum . This probably sprang from garments like the 'pourpoint' worn under armor (partly as an attachment point for plates) by medieval knights and in fact many reenactors think that the wearing of them fell out of fashion long before Elizabeth took the throne.

In Tudor Tailor, these are discussed in a sidelong fashion, and the 'Side-Fastening Doublet' pattern in that book is essentially a man's petticoat (Indeeds, one of the people who gave feedback and suggested additional resources to Julia for her article was Ninya Mikhaila.)

Ms Barrett begs to differ, and presents a compelling case from both the visual record and the written wills of the period.  I can only hope it pushes back the idea that the Elizabethans were not smart enough to take off their coats when the weather got hot.

Here is the Article's home site http://clothingtherose.co.uk/research-articles/
The page hosts several articles (opens/downloads as a .PDF file) listed in the righthand column.

05 March 2012

Buttoning Up, Part III: Buttonfinger (Sort of like Goldfinger, but with 99.9% less atomic peril.)


As I mentioned last week, I'm in  the middle of making a lot of garb very quickly, both because I need new attire for my new character and to test drive my new patterns and instructions for drafting jerkin/petticoat and Venetians.

The patterns are turning out well, certainly easier to learn than the way I did it.

My wife is also creating a new wardrobe from scratch, but whether or not she blogs it is up to her.

To add an element of adventure, we have challenged one another to use only materials already at hand for this. We are allowed to purchase thread and lining fabric if necessary, but everything else must come from our existing stash.

And that means making buttons instead of buying them.

Now, my memory of the Jetsons is faulty at best, but at some point I seem to recall George Jetson complaining to Mr Spacely about the crippling occupational disorder of his time 'Button Finger'. His distress was from pushing buttons; my pains are caused by making them. Pinching the beads between your fingers as you cover them in thread starts to hurt after awhile.

So here's the caveat I didn't think to make last time: Button maker beware. Fashion can truly be a pain.

In my tutorials "Buttoning Up Part II" I mentioned some of the options for thread-covered buttons and demonstrated them with yarn on a large bead. A great deal of variation can be achieved by using different colors of thread or by adding a bead to the end instead of a knot.

Here are some pictures.

The fly of these brown wool Venetians are set off by a two-color checkerboard button 
achieved using a basket weave pattern. Tan and chocolate brown.

Ribbed in a tan thread, these have a loop worked in buttonhole stitch for attaching them to the jerkin.  They are also adorned at the tip with a bit of coiled copper called 'purl'. Both the attachment and the purl echo the buttons on the extent green velvet jerkin that I posted pictures of last week.

These gold-toned buttons are made using a basketwoven pattern, though the weave is less obvious because I alternated every row and used a single color of thread for a more uniform look. Each is adorned with a small glass bead instead of a knot. I made these specifically to catch the light just a little on a doublet that will otherwise be a bit plain.  Subtlety is important to me.