The trouble with being on the road so much recently is that you can't take things like masks and wood with you. On the road, it's handsewing; at home, it's all about the carpentry. So I've been clearing a backlog of masks that I promised to folk, which means a lot of carving and a boatload of forcing leather to do things it doesn't want to do.
This is why I often call myself a sculptor of reluctant media. Between the wood and the leather, my hands are full just discovering the way they want to go and then trying to get them to go there.
This is starting to look like a leatherworking blog rather than a broad-scale costuming blog and for that I apologise to anyone who doesn't want me to dwell on wood and leather and would like to see a bit more cloth. I'll get back to cloth soon. I promise. In the meantime, here's some more leather mask making.
If you are new or looking for instructions on how to make commedia dell arte masks, or just leather masks in general, you will find a tutorial here that gives you the basics of the craft. Yes, the craft. The art of the thing is up to you to bring to the table.
Try as I might, there's only so much of this that can be taught in a blog format.
.jpg)
I mentioned the horn mallet in passing in my demo on the tiny mask. They're kind of a pain
to make, but no one sells them, so make them you must if you want one. "Drill hole, epoxy
handle into place" is a deceptively simple set of instructions. A lot of fussing and cussing is
involved. Most of the other tools used to do this thing can be purchased anywhere that clay
tools are sold. Assuming you don't want to make those too.
.jpg)
The horn mallet not only helps shape it by forcing it down into the grooves and valleys of the matrix, it also compresses the leather, stiffening the mask. The dimples can be smoothed out or left as a texture. I like leaving the dimples around the periphery of the mask and sometimes in the valleys. Texture helps those areas recede visually. (Domino-style minimum coverage zanni mask, commissioned.)
.jpg)
These masks are notoriously difficult to photograph. Note how the dimpled texture helps define the high points from the low. Combined with the shading provided by an careful application of the dye, the mask takes on additional dimension and character. The nose seam on this one was a bit of pain. (Domino-style minimum coverage zanni mask, commissioned.)
.jpg)
I just love this color. The challenge here was making a mask that was non-threatening and cheerful. Most zanni masks tend to look a bit maniacal under the best of conditions by design. Raised brows and wide-open eyes are part of the recipe. I also borrowed the Arlechinno spiral cheeks (which I'm told was historically meant to indicate a handlebar mustache -- automatically awesome).
.jpg)
The trick to pulling off a large full-coverage nose like this one is the inevitable seam where your leather wraps around the nose. I've heard it described in a dozen places, but really this is one of those things that you have to figure out for yourself. This is where craftsmanship is king.
.jpg)
.jpg)
Mask matrices can be re-crafted a couple of times. For a one-off commissioned piece, I'll use the matrix in its original form only that one time. This one has had the nose shortened and re-positioned and cherubic cheeks added using wood putty. Recycling is good.
.jpg)
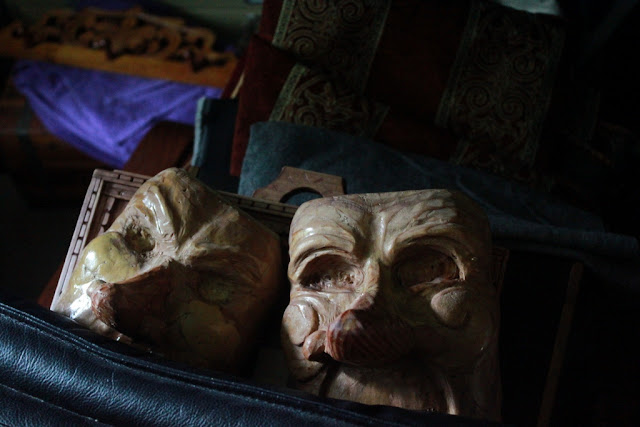
When I retire mask matrices as I have these two, I usually put a hanger on the back and hang them up on the wall, which is the fate that these two are currently awaiting.
.jpg)

.jpg)

.jpg)
.jpg)


.jpg)
.jpg)
.jpg)
.jpg)
.jpg)
.jpg)
.jpg)
.jpg)